Use this guide if your unit displays a "Cannot connect to Cloud Service" message or if you suspect a network issue. These steps will help you verify the connection from the software level down to the physical cabling.
Step 1: Check Connection Status in Windows
Attach a USB keyboard to the port on the left side of the unit’s touch screen.
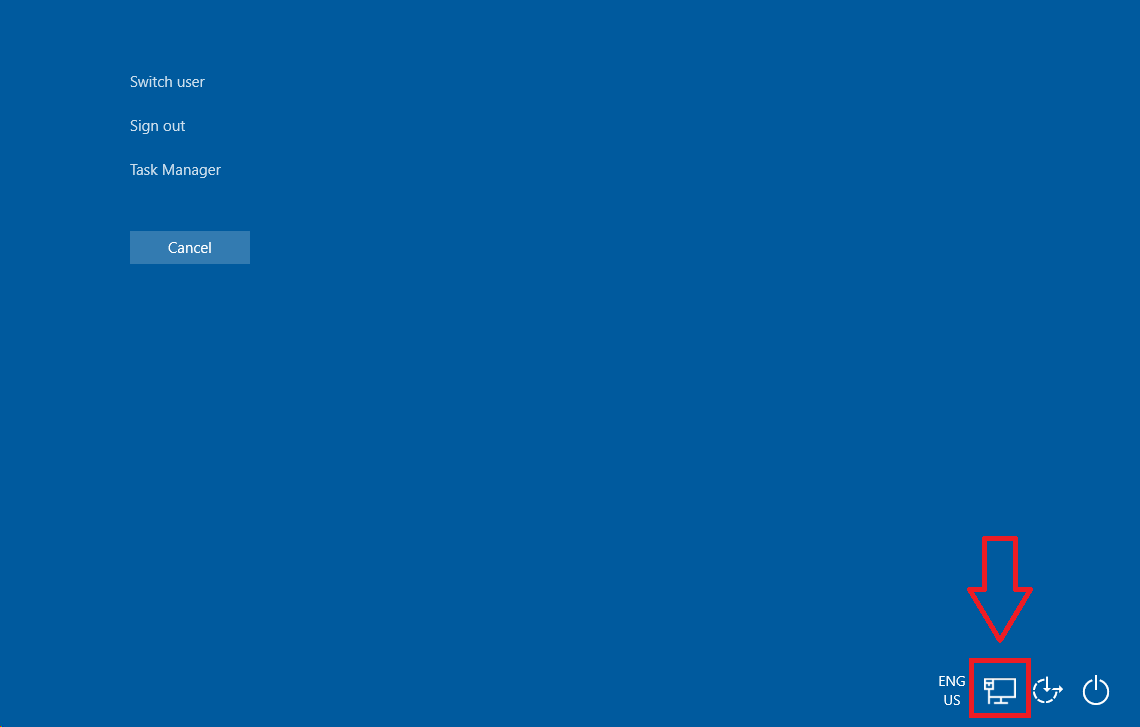
Press CTRL + ALT + DEL simultaneously to access the Windows environment.
Locate the network icon in the bottom-right corner of the taskbar.
Note: Ensure the status explicitly says "Internet access." If you see a globe icon or a "No Internet" warning, proceed to the physical checks below.
Step 2: Inspect the External Ethernet Extension
Most units use an external extension adapter to connect the internal hardware to your facility’s internet source.
Follow the Ethernet cable leading out of the main unit case until you find the coupler.
Action: Disconnect and firmly re-seat both cables into the adapter to ensure they haven't vibrated loose.
Step 3: Inspect Internal Connections
If Windows still shows no connection, the issue may be inside the main unit.
Open the main case (refer to the Lid Removal Guide for safety instructions).
Locate the PC and verify that the Ethernet cable is plugged firmly into the LAN port.
While the case is open, ensure no other cables appear loose or damaged.
Safety Note: Always close and lock the lid securely after inspection.
Step 4: Verify the Internet Source
Trace the long Ethernet cable back to your router, switch, or wall outlet.
Ensure the cable is plugged in and that the port on your router shows active status lights (usually green or amber).
If possible, test the cable with a laptop to confirm the internet source is active.
Conclusion
If the connection remains inactive after verifying all physical points and the Windows status, the problem may be related to your local network's firewall or IP settings.